January 17, 2023
How to Safely Trim Your Dog's Nails: A Step-by-Step Guide
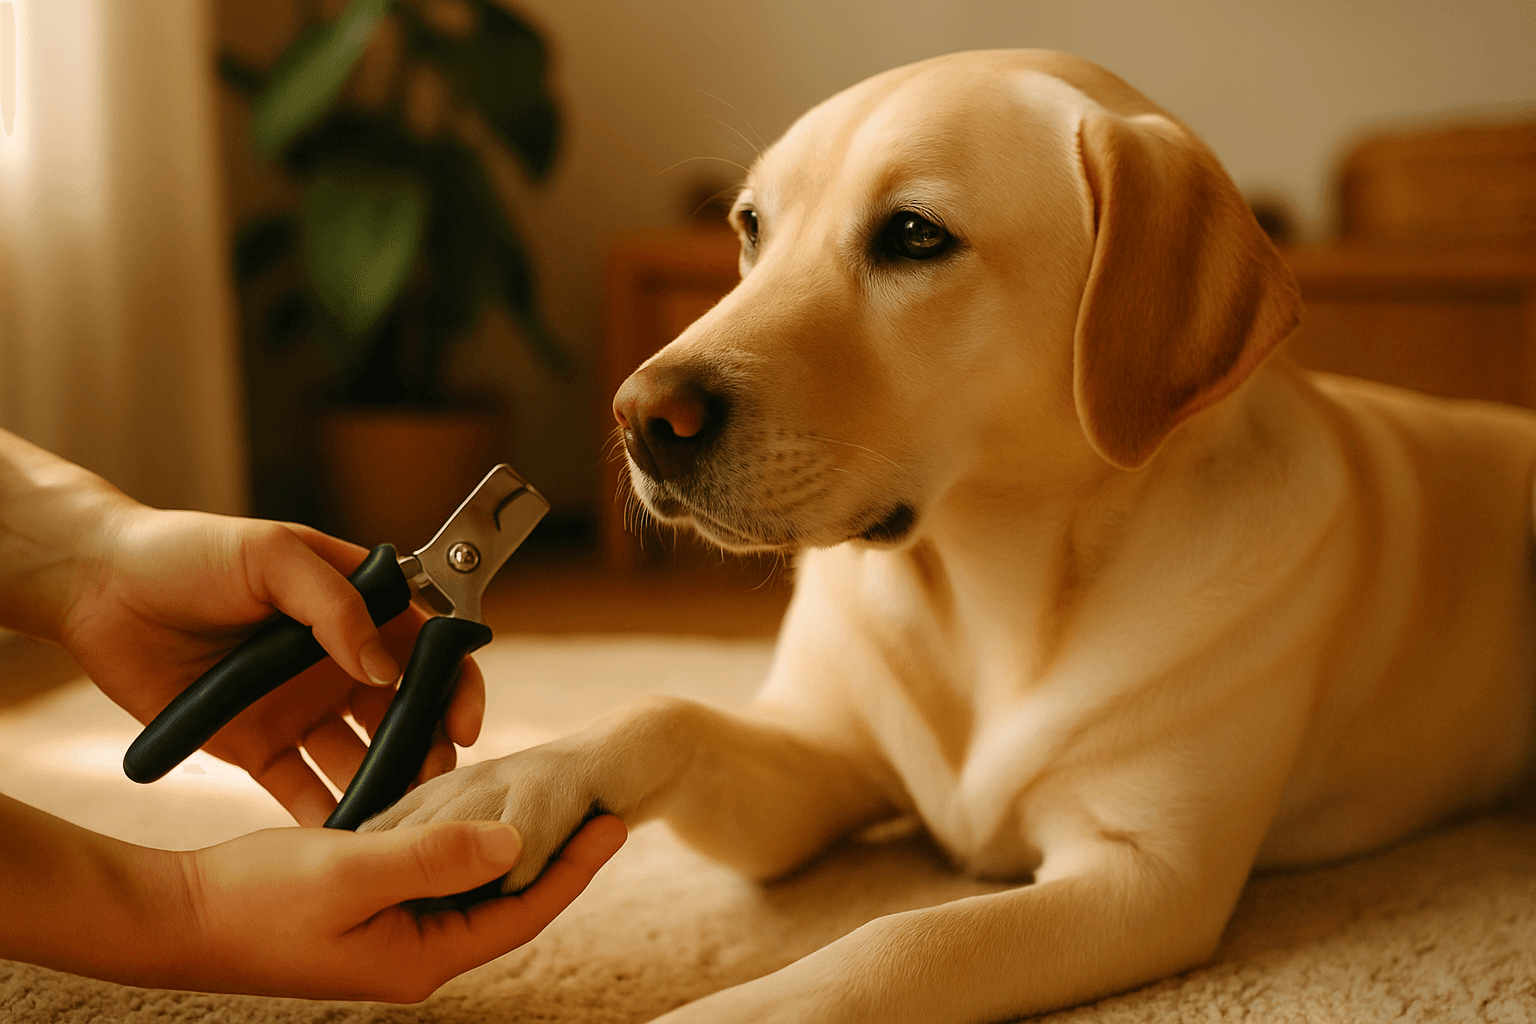
Nail trimming is one of the most dreaded grooming tasks for dog owners -- and one of the most important. Overgrown nails can cause pain, alter your dog's gait, damage floors and furniture, and lead to serious paw and joint problems over time. The good news is that with the right tools, technique, and a calm approach, you can trim your dog's nails safely at home.
Why Regular Nail Trimming Matters
A dog's nails grow continuously, just like human fingernails. In the wild, nails wear down naturally through running on hard surfaces. Most domestic dogs do not get enough pavement time to keep their nails at a healthy length, which means trimming becomes essential.
What Happens When Nails Get Too Long
- Pain and discomfort: Long nails press against the ground with every step, pushing the nail bed back into the toe. This is uncomfortable at best and painful at worst.
- Altered gait: Dogs with overgrown nails shift their weight to compensate for the discomfort, which puts abnormal stress on joints, tendons, and ligaments -- particularly in the wrists, elbows, and hips.
- Splayed toes: Excessively long nails force the toes apart, reducing traction and stability.
- Broken or torn nails: Long nails are more likely to snag on carpet, fabric, or outdoor surfaces and tear -- which is extremely painful and may require veterinary treatment.
- Ingrown nails: If neglected long enough, nails can curl and grow into the paw pad, causing infection and significant pain.
How to Tell if Your Dog's Nails Are Too Long
The simplest test: if you can hear your dog's nails clicking on hard floors when they walk, the nails are too long. When your dog is standing on a flat surface, the nails should not touch the ground. There should be a small gap between the tip of each nail and the floor.
Understanding the Quick
Before you pick up a clipper, you need to understand the anatomy of a dog's nail. Each nail has two parts:
- The hard outer shell: This is the visible nail -- the part you are trimming.
- The quick: A blood vessel and nerve that runs through the center of the nail. Cutting into the quick causes pain and bleeding.
In dogs with light or white nails, you can often see the quick as a pinkish area inside the nail. In dogs with dark or black nails, the quick is not visible from the outside, which makes trimming more challenging.
The Quick Recedes with Regular Trimming
Here is one of the most important things to understand about nail trimming: the quick grows longer when nails are neglected. If your dog's nails are very overgrown, the quick has likely extended close to the tip of the nail. You cannot simply cut them back to the ideal length in one session -- you will hit the quick.
Instead, trim a small amount frequently (every 5-7 days). With each trim, the quick recedes slightly. Over the course of several weeks, you can gradually bring the nails back to a healthy length. This is especially important for rescue dogs or dogs whose nails have been neglected.
Tools You Will Need
There are three main types of nail trimming tools, and the best choice depends on your dog's size, your comfort level, and your dog's tolerance.
Guillotine Clippers
These have a hole where you insert the nail and a blade that slides across to cut. They work well for small to medium dogs with thinner nails. They are not ideal for large dogs with thick nails because the blade may not cut cleanly and can crush the nail instead.
Scissor (Plier) Clippers
These look like small pruning shears and are the most versatile option. They provide more cutting power than guillotine clippers and work well for dogs of all sizes. For large breeds with thick nails, this is usually the best choice. Look for a pair with a sharp, stainless steel blade and comfortable, non-slip handles.
Rotary Grinders (Dremel Tools)
Electric nail grinders file the nail down gradually instead of cutting. Many dogs tolerate grinders better than clippers because there is no sudden "clip" sensation. Grinders are excellent for smoothing rough edges after clipping and for dogs with dark nails (because you can see the quick as you grind closer to it). The downside is that they take longer, produce noise and vibration that some dogs dislike, and can generate heat if held in one spot too long.
Additional Supplies
- Styptic powder or cornstarch: Essential for stopping bleeding if you accidentally cut the quick. Keep this within arm's reach before you start.
- Treats: High-value treats make the experience more positive and help build your dog's tolerance over time.
- Good lighting: You need to see what you are doing. Trim in a well-lit area.
- A non-slip surface: Place your dog on a rubber mat or towel so they feel secure and do not slide around.
How to Trim Your Dog's Nails: Step by Step
Step 1: Get Your Dog Comfortable
If your dog is new to nail trimming or has had bad experiences in the past, spend several days simply handling their paws without any trimming. Touch their feet, hold each toe gently, and reward with treats. This desensitization process builds trust and reduces anxiety.
For dogs that are extremely anxious, consider having someone help hold and comfort the dog while you trim. Some owners find it helpful to spread peanut butter on a lick mat or the side of a bathtub to keep the dog distracted during trimming.
Step 2: Choose Your Position
For small dogs, place them on a table or your lap at a comfortable working height. For large dogs, have them lie on their side or sit while you kneel beside them. Some dogs do best standing -- experiment to find what works for yours.
Step 3: Identify Where to Cut
For light-colored nails, look for the pink quick inside the nail and cut 2-3 millimeters in front of it. For dark nails, cut in small increments and examine the cross-section of the nail after each cut. When you start to see a dark dot or circle in the center of the cut surface (the pulp), stop -- the quick is just ahead.
Step 4: Make the Cut
Hold your dog's paw firmly but gently. Isolate the nail you are trimming by pressing lightly on the toe pad to extend the nail. Position the clipper at a 45-degree angle, following the natural curve of the nail. Make a smooth, decisive cut -- do not squeeze slowly, as this crushes the nail and is uncomfortable for the dog.
Trim a small amount at a time. It is always better to take less than too much. You can always trim more, but you cannot put it back.
Step 5: Smooth the Edges
After clipping, use a nail file or rotary grinder to smooth any rough or sharp edges. This prevents snagging and splitting.
Step 6: Do Not Forget the Dewclaws
Most dogs have dewclaws -- small nails higher up on the inside of each front leg (and sometimes the hind legs). These nails do not wear down from walking and can become overgrown quickly. They are especially prone to growing in a circle and embedding in the skin if neglected. Check and trim them at every session.
Step 7: Reward Your Dog
End every trimming session with praise, treats, and positive attention -- even if you only managed one or two nails. Building a positive association with nail trimming takes time, and every good experience counts.
What to Do if You Cut the Quick
It happens to everyone, even experienced groomers and veterinarians. If you nick the quick:
- Stay calm. Your dog will pick up on your anxiety. Speak in a soothing voice.
- Apply styptic powder immediately. Press the powder firmly against the bleeding nail tip for 10-15 seconds. If you do not have styptic powder, cornstarch or flour can work as a temporary substitute.
- Hold pressure. If the bleeding does not stop within a minute or two, apply more powder and hold pressure with a clean cloth or gauze.
- Keep the dog still. Activity increases blood flow. Have your dog rest quietly until the bleeding stops completely.
- Do not rinse the nail. Leave the styptic powder in place -- washing it off may restart the bleeding.
The bleeding from a nicked quick is almost always minor and stops within a few minutes. It looks alarming because nail beds bleed freely, but it is not a medical emergency. If bleeding persists for more than 10-15 minutes despite styptic powder and pressure, contact your veterinarian.
How Often to Trim
For most dogs, trimming every 2-4 weeks maintains a healthy nail length. Active dogs that walk frequently on pavement may need less frequent trimming. Dogs that spend most of their time indoors or on soft surfaces may need weekly attention.
A good rule of thumb: set a recurring reminder and check the nails at the same interval. Consistency makes the process easier for both you and your dog because the quick stays receded and each trim removes only a small amount.
When to See a Professional
There is no shame in letting a professional handle nail trimming. Consider professional help if:
- Your dog is aggressive or extremely fearful during nail trimming despite desensitization efforts
- Your dog has very thick, difficult-to-cut nails (common in large and giant breeds)
- The nails are severely overgrown and may require multiple sessions to safely shorten
- You are uncomfortable with the process and worried about causing pain
Most veterinary clinics, grooming salons, and mobile groomers offer nail trimming as a standalone service, typically for $10-$25. Some dogs that are anxious at home are perfectly cooperative in a clinical setting -- the change of environment can reset their expectations.
Frequently Asked Questions
Can I use human nail clippers on my dog?
Human nail clippers can work for very small puppies with tiny, soft nails. For adult dogs, they are not appropriate -- dog nails are thicker and rounder than human nails, and human clippers tend to crush rather than cut them cleanly.
My dog will not let me touch their paws. What can I do?
Start a desensitization program. Over several days or weeks, gradually handle your dog's paws during calm moments -- touching, holding, and gently pressing the toes. Pair every touch with a high-value treat. Work up to holding the clippers near the paw without cutting, then touching the clippers to a nail without cutting, and finally making one small cut. This process requires patience but is highly effective.
How short should I cut the nails?
The ideal length is just past the quick -- the nail should clear the ground when the dog is standing. For dogs with overgrown nails, do not try to achieve the ideal length in one session. Take a small amount every 5-7 days to allow the quick to recede gradually.
Are nail grinders better than clippers?
Neither is universally better. Grinders give you more control and produce a smooth finish, but they take longer and the noise can bother some dogs. Clippers are faster but carry a slightly higher risk of cutting too short if you misjudge. Many experienced owners use clippers first to remove the bulk of the nail, then finish with a grinder for a smooth edge.
What if my dog has an extra dewclaw?
Some breeds have double dewclaws on their hind legs (Great Pyrenees, Beaucerons, Briards). These are normal for those breeds and should be trimmed just like any other nail. Check them regularly -- because they do not contact the ground, they can grow quickly and curl into the skin.